

**Update: My sister Kim decided after the success of this post to start her own blog! Go visit her at Sand and Sisal for more great projects.**
My big sister Kim has a great eye for design and is incredibly artistic and creative. I’ve been begging her to guest post over here every once in awhile and she has finally agreed! Today, I’m sharing with you her most recent project. She too was inspired by that big Pottery Barn Noel sign and decided to create her own version using some MDF letters from Michaels and supplies she had on hand.
In case you want to create your own, here are the deets:

One of the things I love about these letters is the rich look of depth to the letters. To create your own faux, weathered-wood look, you’ll need some acrylic paints in Raw Umber and Crimson, or whatever colors you like.
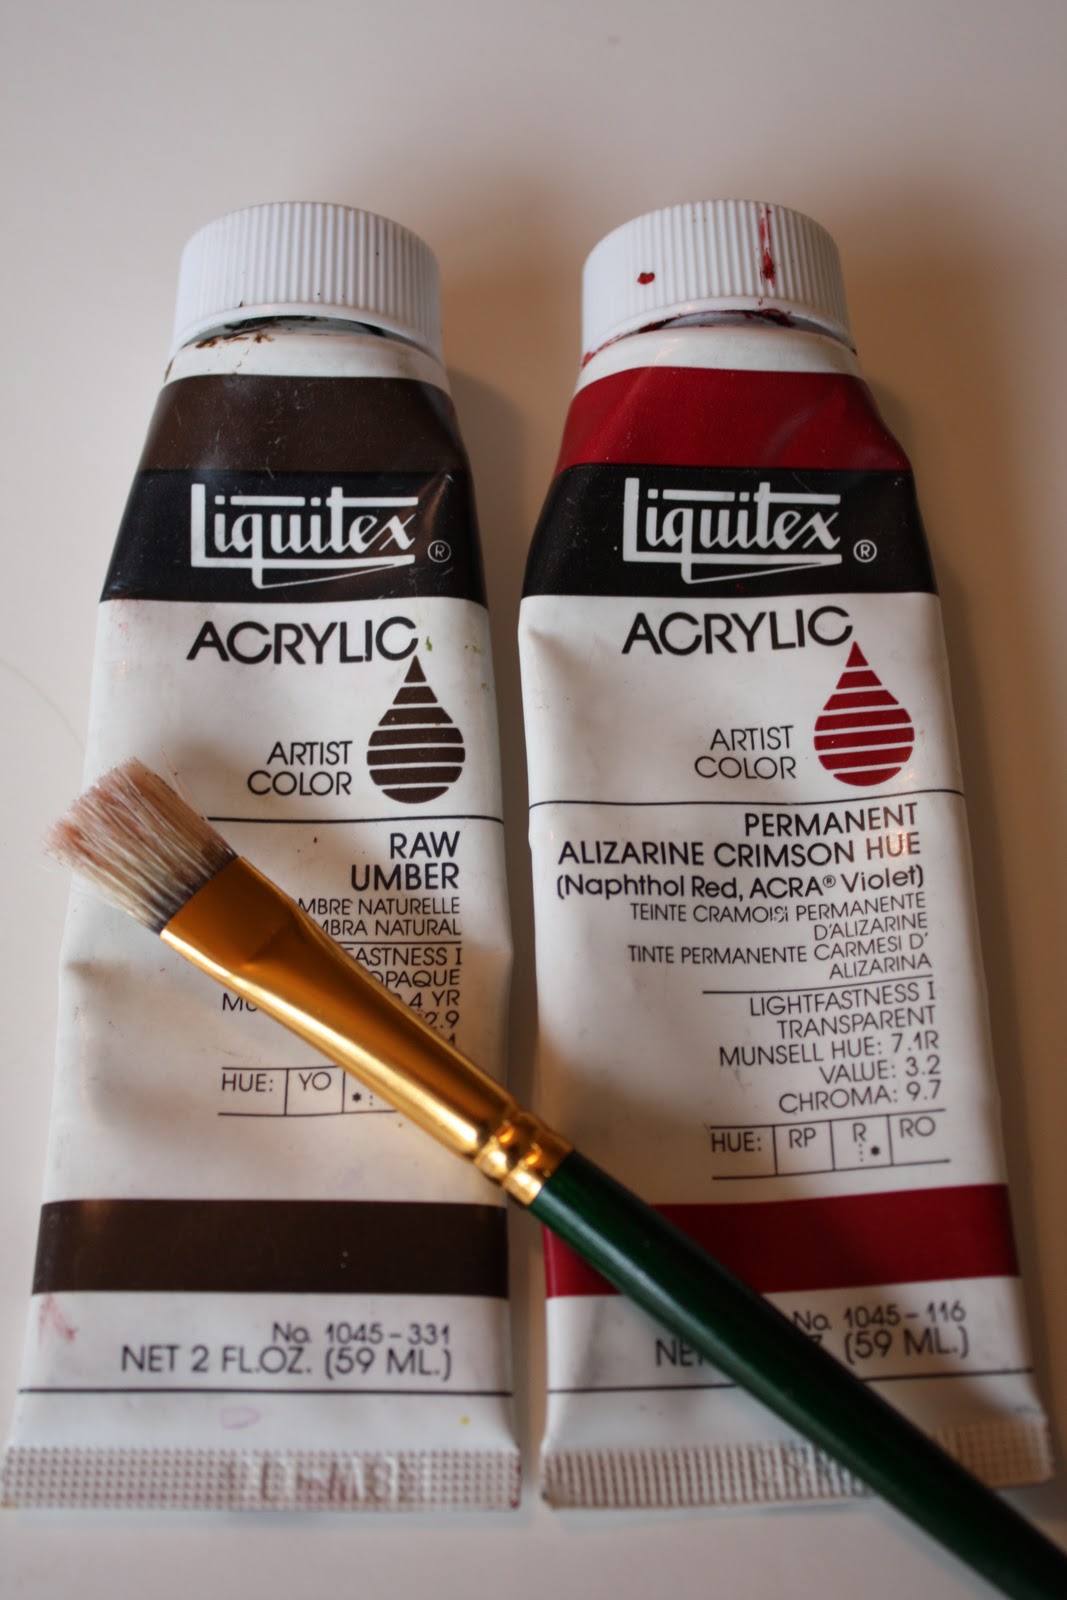
Paint the letters first with the Raw Umber and while they are still tacky and not yet dry….

…go over them with the Crimson. Blend, add some paint, take away, smudge with a paper towel, and have fun until it looks something like….
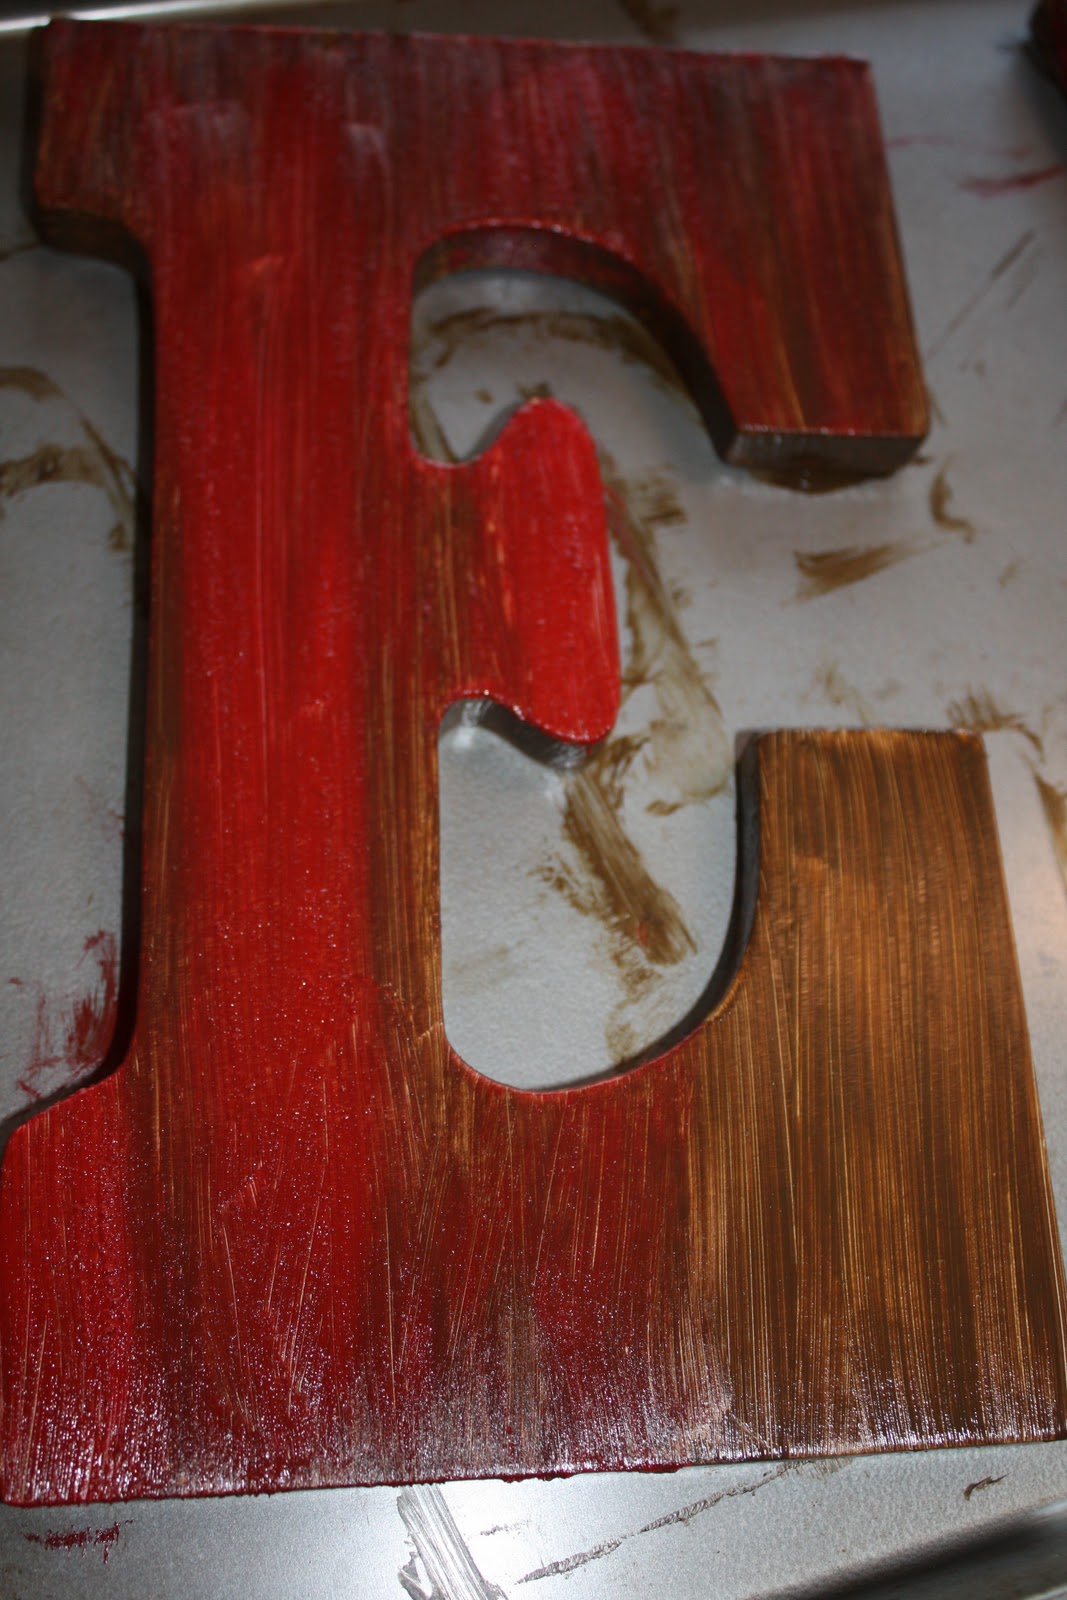
…THIS! See all that beautiful depth and faux-woody goodness? That’s what you’re going for here. If you keep messing with it while it’s wet and still drying, you’ll get this rich gorgeous look.
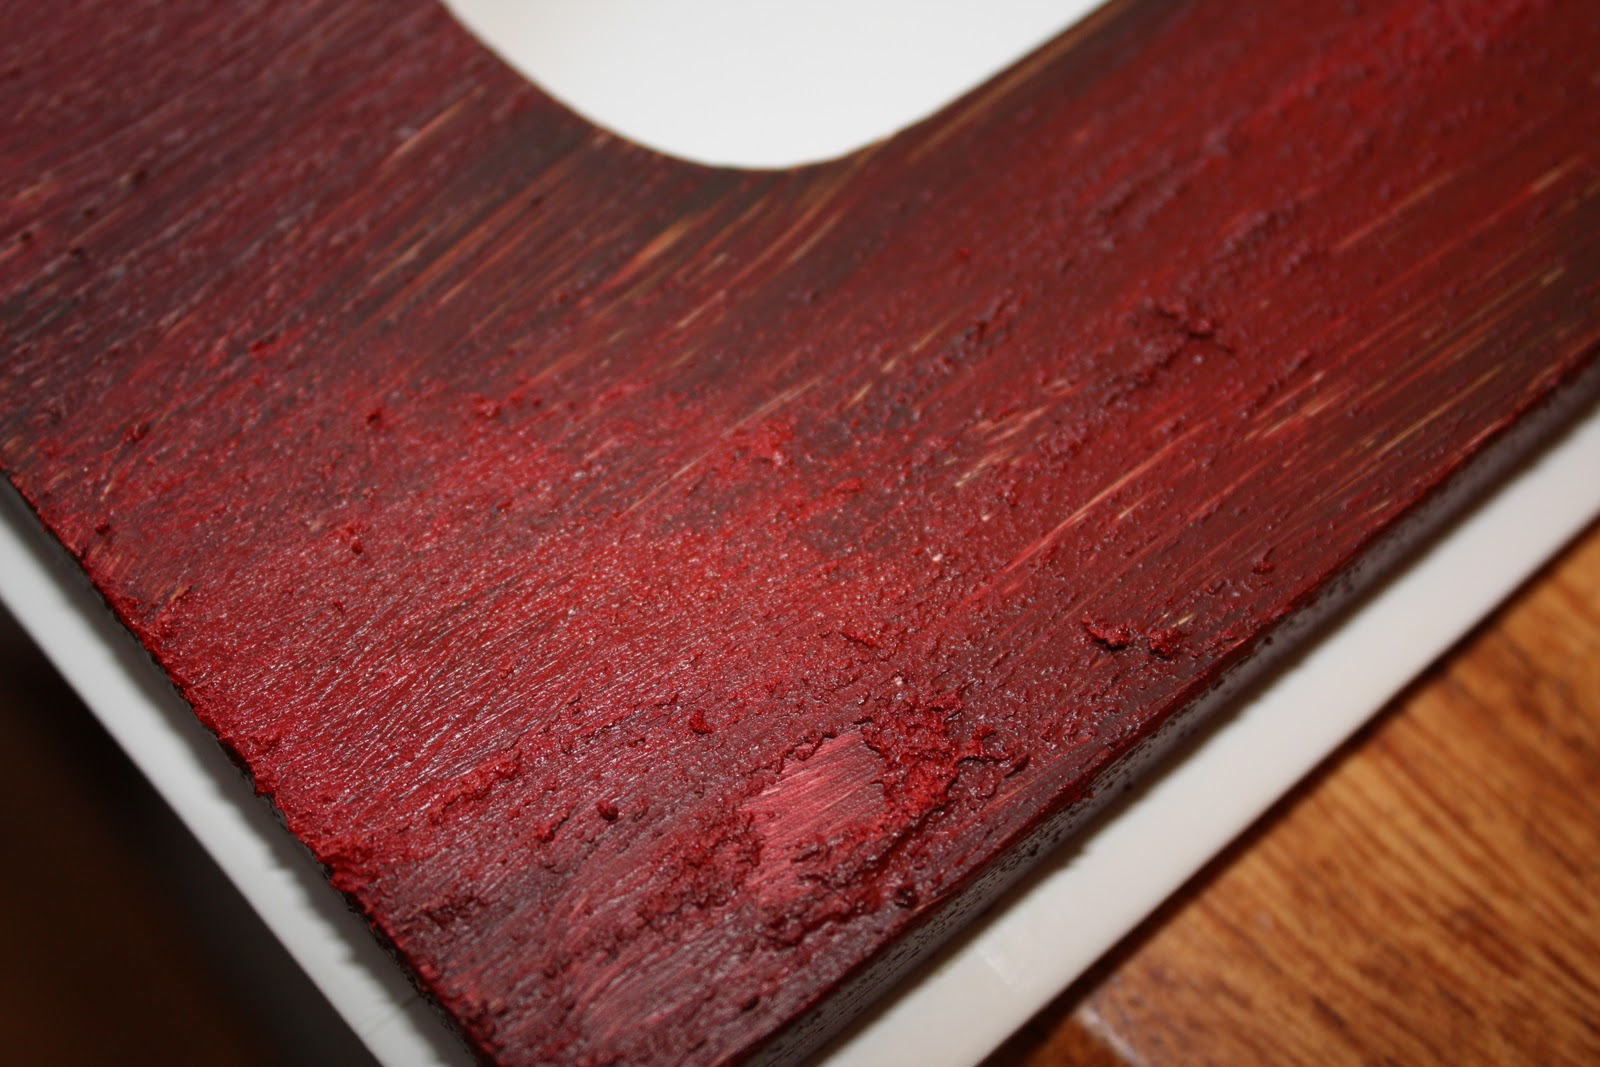
When your letters are completely dry, arrange them how you want on a piece of cardboard. Place another piece of cardboard on the front of the letters and flip ’em over like a cake. Now you are ready to glue your letters in place.
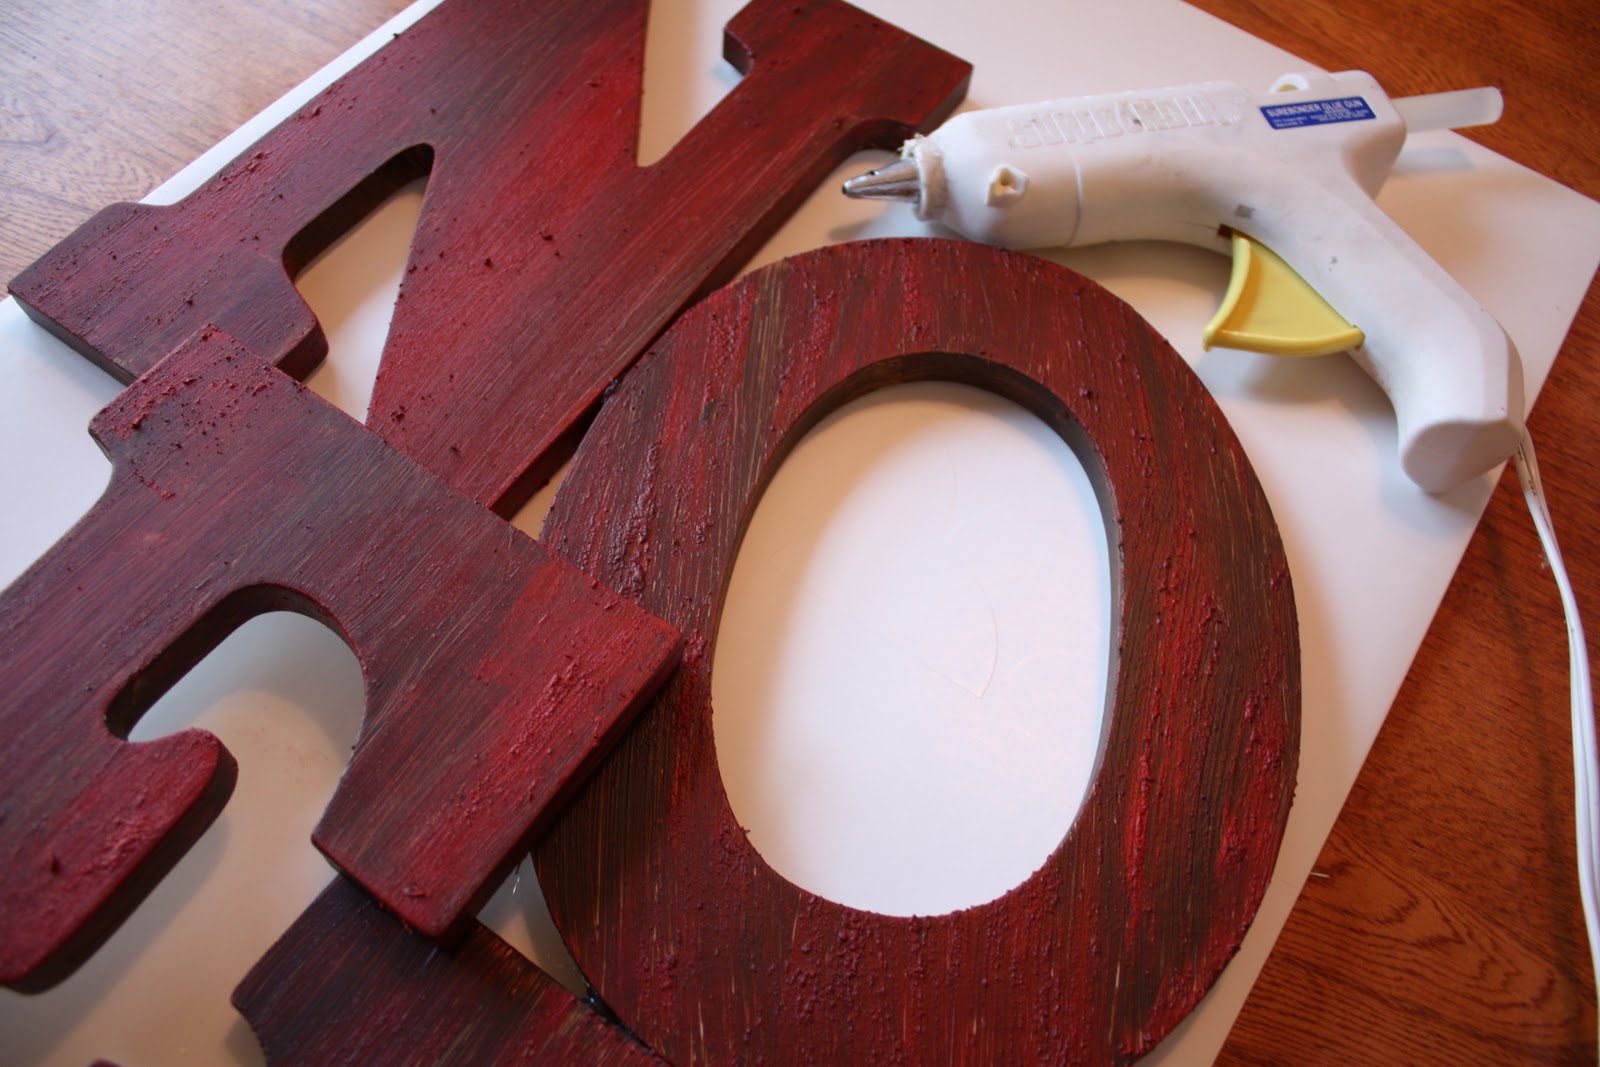
Take your glue gun and fill all the gaps of your letters with hot glue. Never underestimate the power of your hot glue ladies! Goop it on…and it will hold.
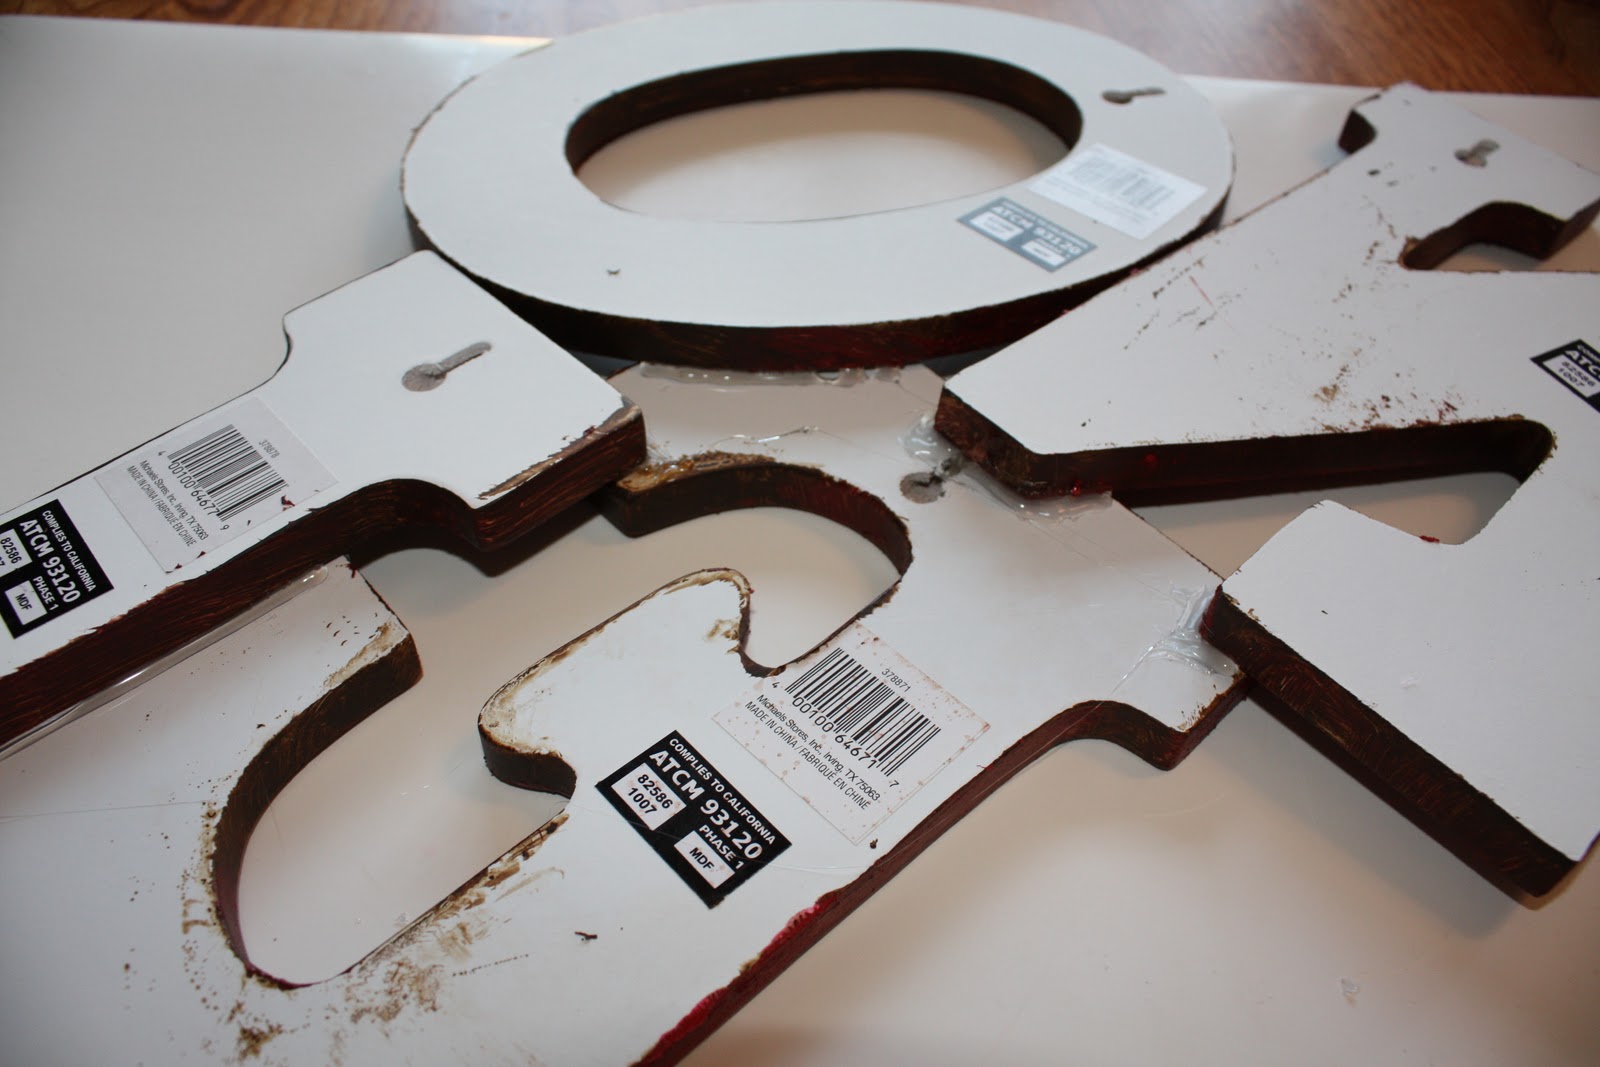
When your glue is set, simply place a few strategic nails on your wall and voila! Cute sign that cost you the price of your letters and a bit of your time.
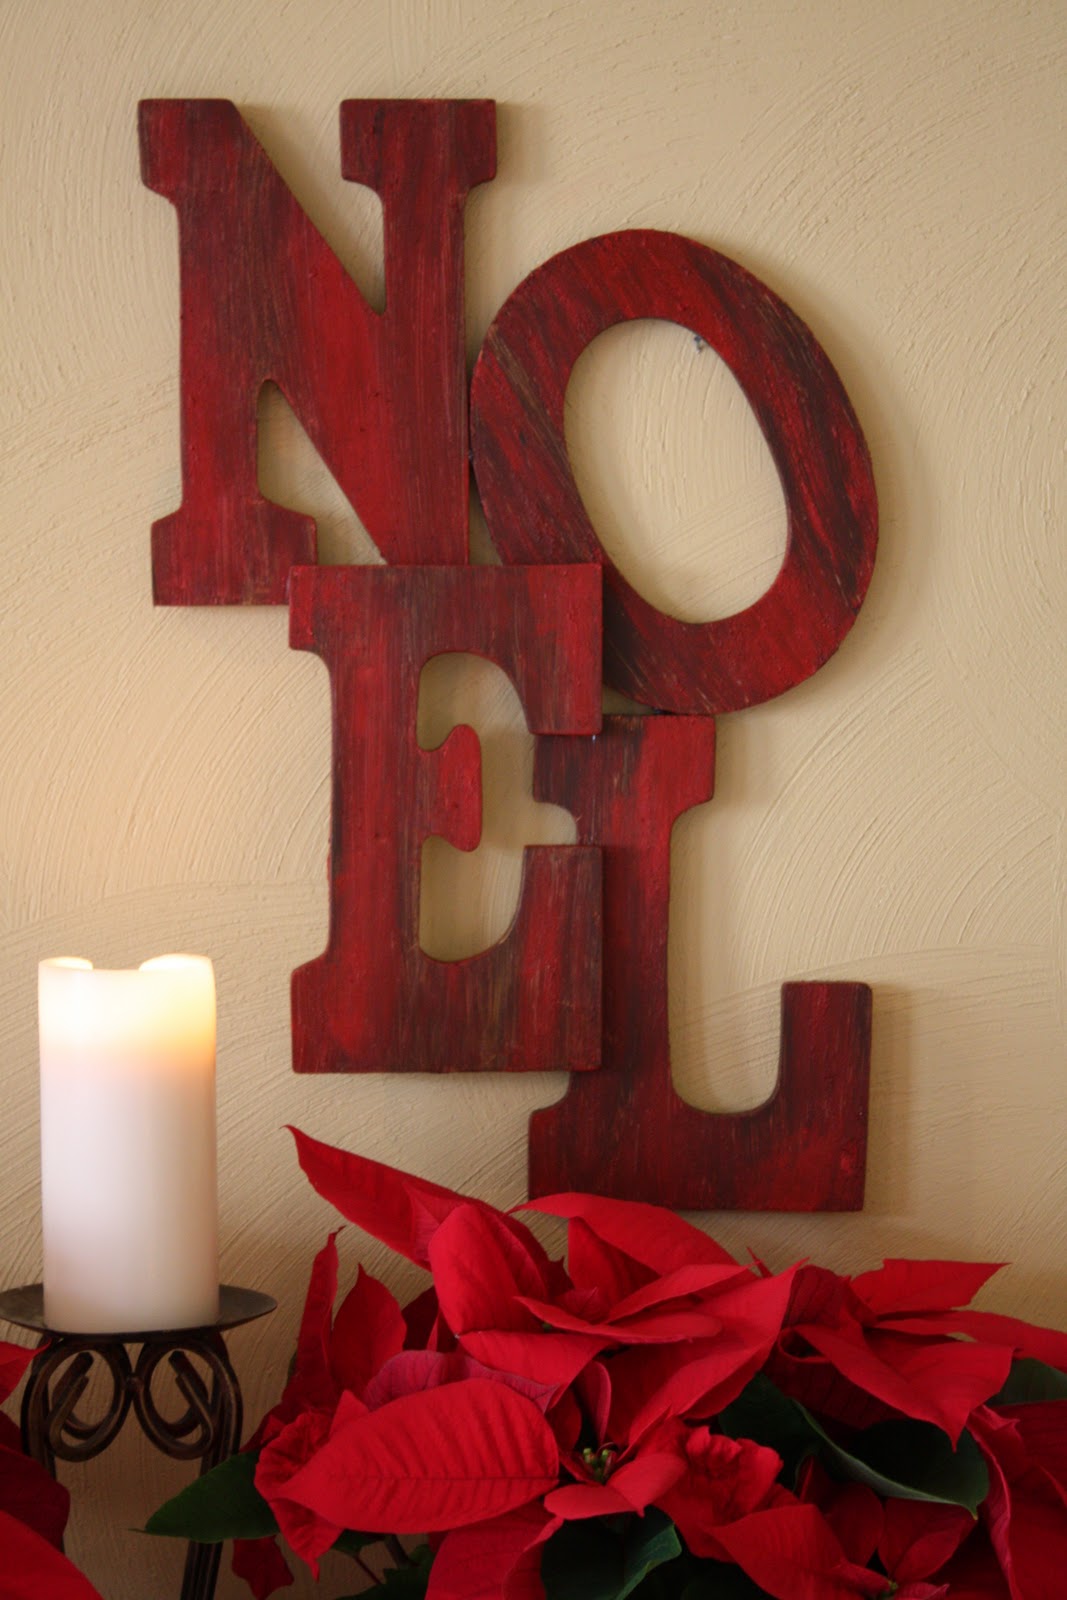
Add some poinsettias, a candle, and you have yourself some gorgeousness!
For another Noel sign tutorial, check out Jess’s PB inspired Noel post! Linking up (very late) to Rhoda’s Vignette Party. Also, don’t forget to enter my Scentsy Giveaway if you haven’t already!

Share this:
Want my decorating tips weekly? Sign up for my newsletter.

Your information will never be shared or sold to a 3rd party.


Hi! I am going to have 3 friends over next month to make this. I
noticed that this paint is pretty expensive. Would you still recommend
using this paint or can I still get the same look with the cheaper paint?
I noticed that each of your paint tubes is 2oz. How much did you use?
Thanks!
Hi what color is the wall thank you
Ebi gusei suka!!!
Privet s goufaka
LOVE this! I featured you here.
Totally cute and so simple! Love it!
What great project. Looks perfect on your wall. I've added it to the M&T Spotlight! http://www.makeandtakes.com/spotlight
Your Noel is beautiful!!! I'm excited to make one for myself! Thanks for sharing.
I love how you stacked yours! I did this, too, but didn't stack them. Yours turned out super cute!
Thanks for all the comments ladies! It was such an easy and quick project. The possibilities are endless with these letters! Thanks for featuring me Beth!
Too cute!!! I love your sister's version! Fantastic!!
Wow this is so cool-it looks wonderful -hard to beleive it was that easy -Thanks to your sis 🙂
hoping over from Fireflies and Jellybeans!
Your sister is wicked crafty! Love her NOEL sign. Thanks for convincing her to share.
Brittany
http://www.prettyhandygirl.com
I cant tell you how many times I've looked at that in PB and thought "I bet I could make that!" Awesome DIY project, thanks for sharing!
Who need Pottery Barn?!?! Love it!
I featured this post on my blog if you want to check it out.
sassysanctuary.blogspot.com
That is such a great idea! Seems like a good time to use my 50% off coupon to Michael's 🙂
So cool! They way those letters are arranged is so fun. This project looks pretty easy too, but a big impact. Nice!
Beth,that is really cute! I saw Jess's version too & it's a great look.
Beautiful! I need more wall space!
awesome!!!!!
Just awesome! Thanks to you and your sister, Beth!
XO,
Jane
What a great sign! I Love the layered letter look. I have made one in silver a copy from another blog post- we don't even have a pottery barn in Australia so I can only copy.
Mine still needs some tweeking before I reveal it to the world!
It looks great! What a fabulous project and great tutorial – thanks for sharing!
Chelsea
That is so great! I love those letters at Michaels and I've used them for single monogram projects. I could see doing other words, too, like JOY, HO HO HO and if you had the patience, BELIEVE! What fun! Good thing I'm going to Michaels tomorrow for a few little things! : )
love the texture and love the look of pottery barn at a fraction of the price!
Thanks to you and your sis~!
These turned out great, love the finish and the configuration, so festive and fun!! Merry Christmas,Kathysue
Beth, I love your Noel sign.
Love it too!!!! I am running to the craft store tomorrow and now I think I'll have to get some letters too!
Jeanine
I love this!!! Thanks for the tutorial, I think I'm gonna have to try this one! Love the color too!
Looks great! I'll take one. 😉
Well, I'm in love. The colors, the arrangement, everything! GREAT idea!
I really like this. Great to make one to put on the front of my house! (Its a little warmer here in Melbourne Australia)
Thank you!
🙂
What a great idea! I love it!!
AMAZING… LOVE it… Now I want to go buy letters!
That is beautiful!!
Linking up to it tomorrow!
I really need to make one of these for my house!